
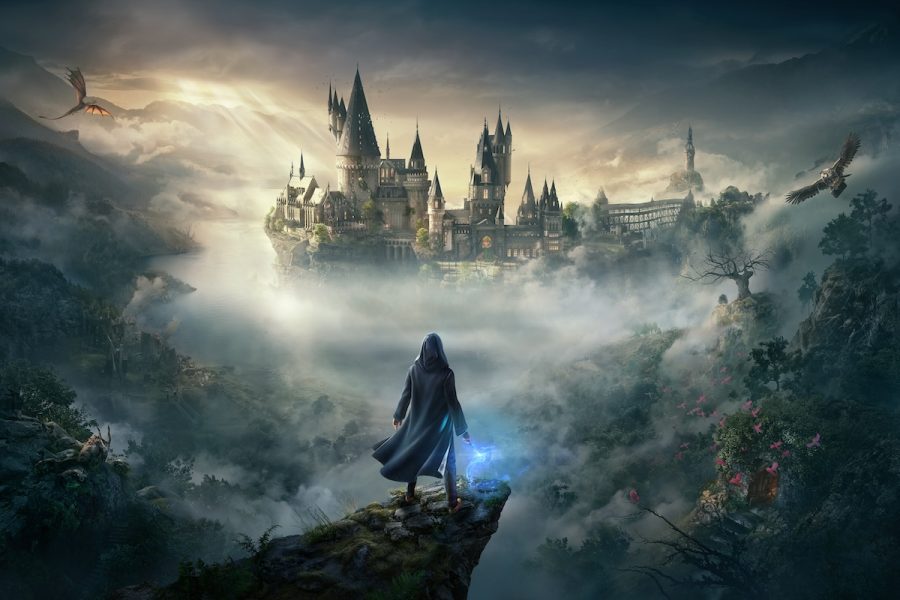
Hogwarts Legacy is a great game and it has been out for well over a year now. One of the things undoubtedly missing when it shipped was a Photo Mode to take advantage of the lovely graphics and the opportunity to make massive screen wallpapers of Hogwarts and its majestic innards.
With this last Summer 2024 update, however, a Photo Mode has finally been added so you can stop casting spells and catching bad guys for a short time and focus on getting some wonderful in-game panoramics.
Let’s have a look at how to do it with the minimum of fuss.
Hogwarts Legacy Photo Mode
Righty, if you are playing Hoggers for the first time you will not instantly have access to Photo Mode. Indeed you will have to complete the mission where you first unlock the Field Guide.
It shouldn’t take an overly long time to get there. If you have played when the game came out you are more than likely to have already chalked this off.
To access Photo Mode if you are on PC just hit the ESC key to take you to the menu. If you are on console hit Start. You should now see the option for the mode at the bottom of the menu. Enter it by hitting the defined key or button.
From here most options are the same as any other Photo Mode. You can tweak the exposure, DoF (depth of field for that lovely blurry effect), add a filter to make it look like the ‘gram, and even change the time of day if you fancy a Golden Hour sunset.
Where things get a little different, although Starfield did something similar, you can even change your character’s pose for the perfect Hoggers selfie. If you are more of a scenery photographer you can choose to remove them also.
Before taking your shot remember to remove the UI and snap away. Now you can can capture all your Hogwarts memories and save them for posterity.
The post How to use Photo Mode in Hogwarts Legacy appeared first on ReadWrite.


