

Git is a distributed version control system that helps developers manage projects efficiently, track changes, and maintain code integrity. It offers command-line and GUI interfaces, making it accessible to developers of all skill levels.
Table of content
What is GIT and GIT GUIs ?
Git
Git GUIs
Differences between GIT and GIT GUIs.
Prerequisites.
Installation of GIT and GIT GUIs.
Git Installation
Windows
macOs
Linux
Git GUIs Installation
Guide on how to use GIT and GIT GUIs.
Demonstration.
Conclusion.
Useful Resources.
What is Git and Git GUIs ?
Git
Git is a free and open-source distributed version control system designed to handle everything from small to very large projects with speed and efficiency. It allows you to revert to previous versions, collaborate with others, and keep a history of your project’s evolution. More on Git can be found here https://git-scm.com/doc
Git GUIs
Git GUIs are built-in tools that provides a visual interface for interacting with Git. It offers a user-friendly way to perform many Git operations without memorizing complex commands.
Differences between Git and Git GUIs.
Git is a local software for version control, imagine its a personal logbook tracking changes to your files.
Github is an online service for hosting git repositories (like storing your logbooks in a safe place). It offers collaborative features on top of Git’s version control.
Think of it as Git is a tool and Github is the toolbox.
Feature
Git
Github
Type
Local software
Online service (SaaS)
Installation
Installed on user’s computer
Accessed through web browser
Cost
Free and open-source
Free tier paid plans for additional features
Version Control
Yes
Yes(Uses git for version control)
Collaboration
Limited (requires manual sharing)
Built-in for collaboration (code reviews, issue tracking)
Hosting
No (stores data locally)
Cloud-based storage for repositories
Security
User manages security
User management and access control features
Additional Features
None
Issue tracking, code reviews, wikis, project management tools
Use Case
Individual version control, small projects
Collaborative development, code sharing, open-source projects
Prerequisites.
To effectively use Git and Git GUIs, it’s helpful to have a basic understanding of version control concepts and some familiarity with the command line interface. Here’s a list of prerequisites:
1.Understanding of Version Control Concepts.
2.Basic Command Line Knowledge (Optional).
3.Installation of Git : (https://git-scm.com/).
4.Choosing a Git GUI. Learning Basic Git Commands: such as git clone, git add, git commit, git push, git pull, git fetch, git merge, and git branch will be beneficial.
5.Understanding Repository Hosting Services.
6.Practice and Experiment.
By meeting these prerequisites and regularly using Git and Git GUIs, you’ll become more comfortable and proficient with version control and collaboration workflows.
Installation of Git and Git GUIs.
Step-by-step guide on installing git and git GUIs;
a) GIT INSTALLATION :
Windows :
Visit:https://windows.github.com
Download the installer
Run the downloaded installer and follow the prompts in the setup wizard
After installation, open a command prompt and type
to verify that Git has been installed correctly.
macOs :
Git often comes pre-installed on macOS. You can check by typing the following in the terminal
if not installed visit : https://mac.github.com
Linux :
On most Linux distributors, Git can be installed using the package manager. For example on Ubuntu, you can use apt to install Git by running :
b) Git GUIs Installation:
Git GUIs are applications that provide a visual representation of a variety of Git functions, simplifying the process of version control for those who prefer a graphical interface over a command-line interface (CLI)
Here are some popular Git GUIs:
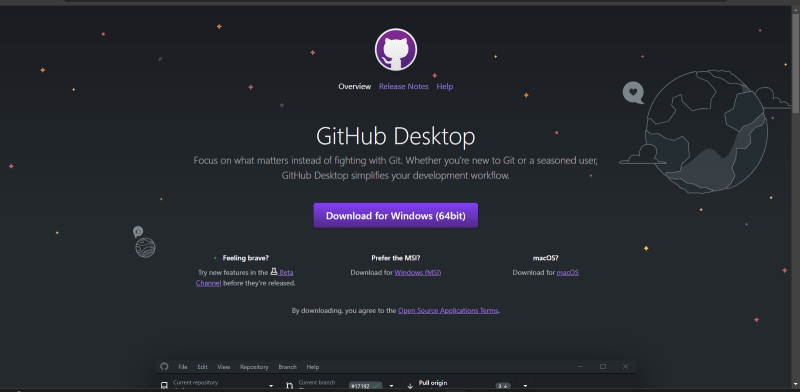
GitHub Desktop:
This is a simple yet powerful GUI for Git that integrate well with GitHub. It’s available for Windows and macOS. You can download it from the GitHub Desktop website: https://desktop.github.com/
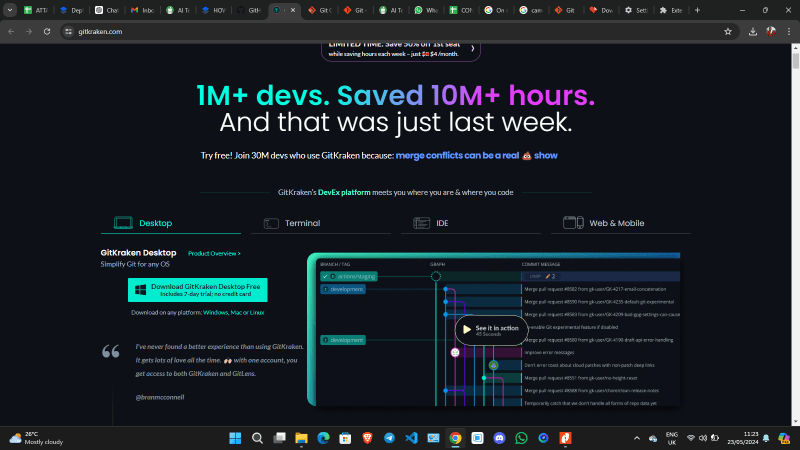
GitKraken:
GitKraken is a cross-platform Git GUI client with support for windows, macOS, and Linux. It offers a visually appealing interface and powerful features like integrations with issue tracking tools. You can download it from the GitKraken website: https://www.gitkraken.com/.
Source Tree:
Source Tree is another popular Git GUI client developed by Atlassian. It’s available for Windows and macOS and offers a clean interface with powerful Git features. You can download it from the Source Tree website:
https://www.dropbox.com/paper/ep/redirect/external-link?url=https%3A%2F%2Fwww.sourcetreeapp.com%2F&hmac=Y6o1ptTKx4RW5YpXUwI7QUZuk%2BwNuxMfwkOQgixS0qs%3D
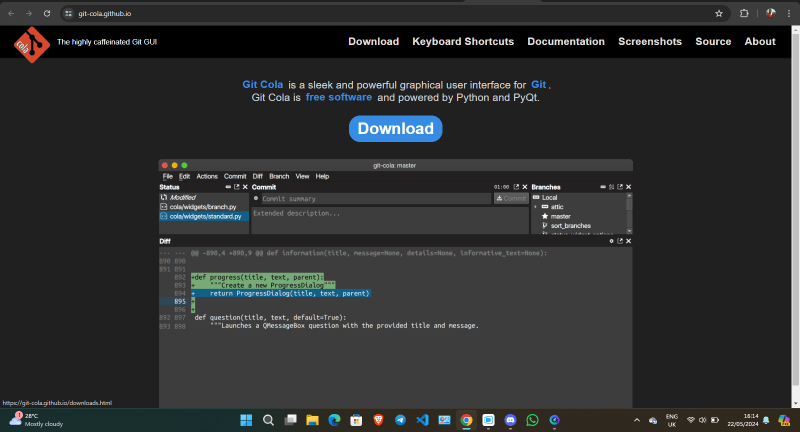
Git Cola :
Git Cola is lightweight Git GUI that’s available for Windows, macOS, and Linux. It provides a simple and intuitive interface for common Git operations. You can download it from the Git Cola website: https://git-cola.github.io/
These GUI clients can make it easier to work with Git repositories, especially for those who prefer a more visual approach or are new to Git.
Guide on how to use Git and Git GUIs
What does Git do?
Manage projects with Repositories
Clone a project to work on a local copy
Control and track changes with Staging and Committing
Branch and Merge to allow for work on different parts and versions of a project
Pull the latest version of the project to a local copy
– Push local updates to the main project
Using Git With Command Line.
To start using Git, we use our Command Shell.
For Windows, you can use Git bash, which comes included in Git for Windows.
For Mac and Linux you can use the in built terminal.
Git Repository.
A Git repository is a folder for managing and tracking changes in files and directories .
To create a folder create a directory/ folder and move to the new directory using the cd command. Once you have navigated to the folder, initialize Git on that folder:
You can create new files in your git folder and use git status to see if it is part of the repo.
Git Staging Environment.
One of the core functions of Git is the concepts of the Staging Environment, and the Commit.
As you are working, you may be adding, editing and removing files. But whenever you hit a milestone or finish a part of the work, you should add the files to a Staging Environment.
Staged files are files that are ready to be committed to the repository you are working on. You will learn more about commit shortly.
We use the git add command.
Git Commit.
Since we have finished our work, we are ready move from stage to commit for our repo.
Adding commits keep track of our progress and changes as we work. Git considers each commit change point or “save point”. It is a point in the project you can go back to if you find a bug, or want to make a change.
When we commit, we should always include a message.
By adding clear messages to each commit, it is easy for yourself (and others) to see what has changed and when.
Git Branch.
In Git, a branch is a new/separate version of the main repository.
Branches allow you to work on different parts of a project without impacting the main branch.
When the work is complete, a branch can be merged with the main project.
You can even switch between branches and work on different projects without them interfering with each other.
So we create a new branch:
Example
git branch hello-world-images
Now we created a new branch called “hello-world-images”
Let’s confirm that we have created a new branch:
Example
git branch
hello-world-images
master
We can see the new branch with the name “hello-world-images”, but the * beside master specifies that we are currently on that branch.
checkout is the command used to check out a branch. Moving us from the current branch, to the one specified at the end of the command:
Example
git checkout hello-world-images
Switched to branch ‘hello-world-images’
– Now we have moved our current workspace from the master branch, to the new branch
Git Branch Merge.
Check Out the Target Branch: First, you need to switch to the branch into which you want to merge changes. This is usually the main branch or another feature branch.
git checkout target-branch
Replace target-branch with the name of the branch you want to merge into (e.g., main or develop).
Ensure Your Target Branch is Up-to-Date: It’s a good practice to make sure your target branch is up-to-date with the latest changes from the remote repository.
git pull origin target-branch
Merge the Source Branch: Now, merge the source branch into the target branch. This integrates the changes from the source branch into the target branch.
git merge source-branch
Replace source-branch with the name of the branch you want to merge from (e.g., feature-branch).
Resolve Any Conflicts: If there are any merge conflicts, Git will notify you. You’ll need to manually resolve these conflicts. After resolving the conflicts, mark them as resolved by adding the changes.
git add conflict-file
Commit the Merge: If there were conflicts and you resolved them, commit the merge.
git commit
If there were no conflicts, Git automatically creates a merge commit for you.
Push the Changes: Finally, push the merged changes to the remote repository.
git push origin target-branch
Demonstration
https://www.youtube.com/watch?v=RGOj5yH7evk&
Conclusion.
In conclusion, mastering Git and GitHub GUI installation is an important skill for modern developers. These tools provide the foundation for effective version control, enabling developers to track and update changes seamlessly, collaborate, and maintain project integrity. By installing and familiarising yourself with Git and GitHub GUIs, you can streamline your workflow, enhance collaboration with teammates, and contribute effectively to the software development process.
Useful Resources
Learning Resources
To deepen your understanding of Git, these resources offer comprehensive guides, tutorials, and interactive learning:+HOW TO: Learning-Resources
Official Git Documentation:
A comprehensive resource for all Git commands and concepts.
Git Documentation
Under the Git Documentation section, they are the external links with the ever-evolving collection of tutorials, books, videos, and other Git resources.
Pro Git Book:
A free online book covering everything from basics to advanced Git usage.
Pro Git Book
GitHub Learning Lab:
Interactive tutorials to learn Git and GitHub pages documentation.
GitHub Learning Lab
Codecademy Git Course:
An interactive course to learn Git commands and workflows.
Codecademy Learn Git
Udacity Version Control with Git:
A free course on Git version control basics.
Udacity Course


