
How cool it would be if you could SHARE your first PHP project with your family and friends.
In this article, I’ll show you one of the best ways to HOST your PHP website for FREE with Sub-Domain so that you can SHARE the link and anyone can check your website on the internet.
FREE Hosted PHP Project: CLICK HERE for DEMO
Now, without any further delay, let’s follow the steps.
Step 1: Create an Account with Free Hosting Provider
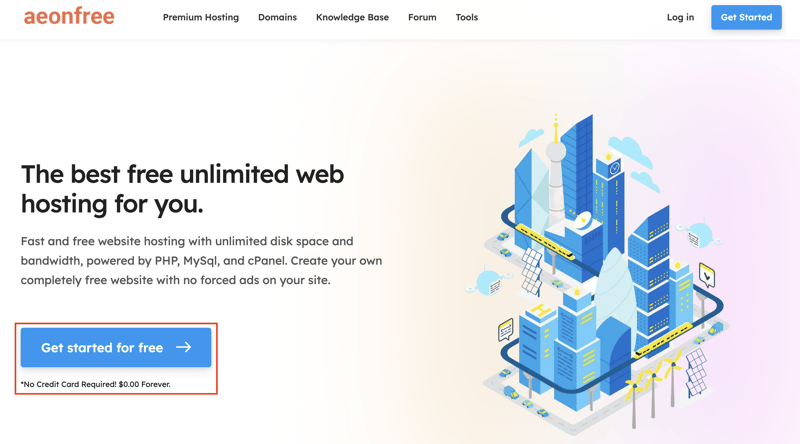
Though there are tons of Free Hosting Providers, I’ve found Aeonfree to be one of the best. And we’ll create a free account on their website.
Click Here to Create an Account
Once you fill the form and submit, an activation link will be sent to your email address.
You need to verify it by clicking on the link in your email.
Step 2: Select a Free Sub-Domain
Then the next step is to select a Sub-Domain for your project so that you can share the link with your family and friends.
Aeonfree provides a feature to select sub-domain names from multiple domains.
I love selecting the shortest domain name, so I’ll create a sub-domain with .zya.me
And the full link of the sub-domain I’ve selected is www.foodorderwebsite.zya.me
Note: You can also add your own custom premium domain if you’ve bought it already.
Step 3: Create and Import Database in Hosting
Now, the next step is to setup database for your project in the Aeonfree hosting.
If you’ve created your PHP project locally using XAMPP or MAMP, then you’ll have to export your database and import it to the hosting database.
To create database in aeonfree hosting, just click on Control Panel, then go to database section to create a new database.
Then once the database is created, you need to go to phpmyadmin and import the database file of your project.
Step 4: Upload All Project Files to Hosting
Once the database is setup and local database is imported, the next step is to upload all the project files from your computer to Hosting File Manager (public_html or htdocs).
You can either zip all the project files and upload it or just upload the files and folders manually one by one.
I choose the first one (Zip & Upload).
For this tutorial, I’m hosting “Food Order Website” project that I created while making a course on PHP and MySQL.
You can use your own project.
To go to the File Manager, just go to the home page of your control panel then scroll down to Online File Manager.
Step 5: Make Changes to Configuration File
Finally, you can make changes to your configuration file so that your project runs smoothly over the internet.
Configuration file can have DATABASE NAME, DATABASE USERNAME, DATABASE PASSWORD, SITEURL or Website Home Page Link, etc.
In my “Food Order Website” Project, I have constants.php file to manage all these settings.
So, we need to update those.
Also the values (Aeonfree Hosting Settings) for these changes are as follows
SITEURL (‘your new domain or subdomain name’). Example:
DB_USERNAME (‘new database User’)
DB_PASSWORD (‘new database User Password’)
DB_NAME (‘new database name’)
Note: Your hosting account username and password are the Database Username and Database Password, respectively.
Follow This 👇 Full Tutorial
Thank you so much for reading til the end of the article.
Hope it was helpful to you.
Keep Learning and Sharing.
You’re Awesome 🫡!
