
When you’re running out of rendering budget in your game project, offloading some less time-critical rendering operations to another machine can be an option. Recently at work, we created an image server using Unity as a method to offload some of the rendering workload from the game client program and added it to the server deployment script as part of our server group.
However, deploying a Unity-built executable that utilizes the graphics API as a Windows service didn’t go as smoothly as I had expected initially. In this post, I am going to walk through some of the technical difficulties I faced while deploying the image server.
The Image Server
The image server is responsible for accepting HTTP requests from clients and, returns the rendered image in the response, upon completing the rendering processes as specified in the request.
In practice, the server will render some elements that the client doesn’t immediately need but will within a few seconds. This could be the map image of a procedurally generated dungeon or an image of a randomized NPC appearance, possibly displayed in a corner of the UI. (By the way, neither of these examples was our case.) Essentially, it handles whatever tasks the client can delay for a short time before retrieving the actual image. I won’t delve much deeper into this aspect, as it heavily depends on your project’s requirements and what you choose to render on the server.
Setting aside the rendering processes, one of the simplest forms to illustrate the server’s behavior might look like the code below. It’s essentially a basic HTTP server that listens on port 3000 and returns hard-coded HTML in response.
using System.Threading;
using UnityEngine;
public class MyHttpServer : MonoBehaviour
{
private HttpListener listener;
private Thread listenerThread;
void Start()
{
listener = new HttpListener();
listener.Prefixes.Add(“http://localhost:3000/”);
listener.Start();
Debug.Log(“Listening…”);
listenerThread = new Thread(new ThreadStart(Listen));
listenerThread.Start();
}
void Listen()
{
while (true)
{
HttpListenerContext context = listener.GetContext();
HttpListenerRequest request = context.Request;
HttpListenerResponse response = context.Response;
string responseString = “<html><body>Hello World!</body></html>”;
byte[] buffer = System.Text.Encoding.UTF8.GetBytes(responseString);
response.ContentLength64 = buffer.Length;
System.IO.Stream output = response.OutputStream;
output.Write(buffer, 0, buffer.Length);
output.Close();
}
}
private void OnApplicationQuit()
{
listener.Stop();
listenerThread.Abort();
}
}
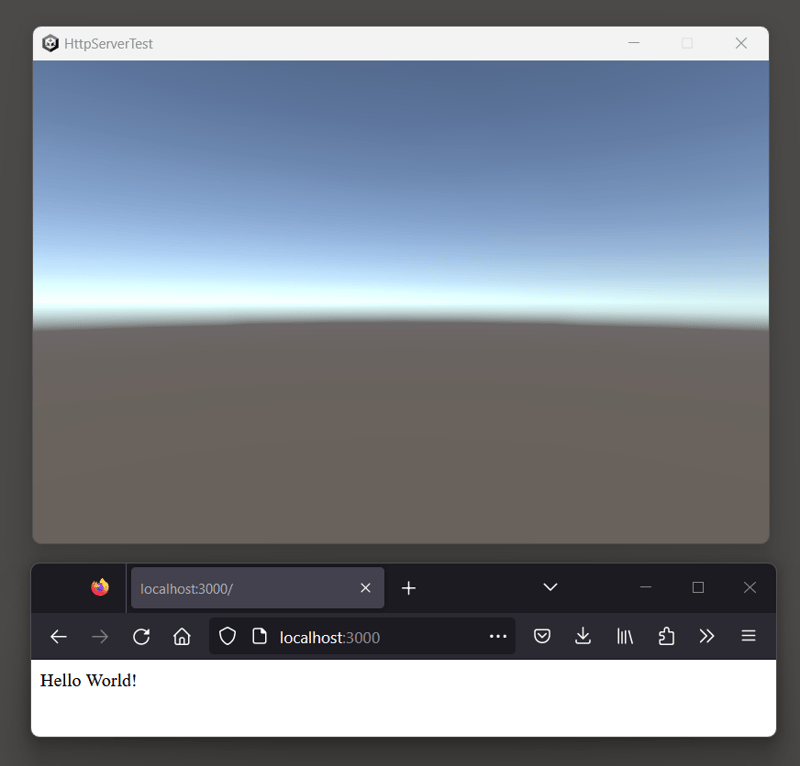
Attach it to an arbitrary GameObject in the scene, then build the executable. Once it’s up and running, you should be able to see the simple html code mentioned above returned as a response in your web browser at the address (localhost:3000, in this case).
(Let’s pretend it’s returning an image instead of the HTML)
Issues with the Windows service
The servers were deployed as services on Windows machines, primarily to simplify the automatic starting and stopping of server processes when the machine is turned on and off.
The issues kick in right at this point. A Windows service process runs with admin privileges in a special session called ‘Session 0’, while other standard processes run in each user’s interactive logon session.
In Session 0, a service process is meant to run as a ‘background’ process. A background process in Windows does not inherit the capability to use the GUI system; it is unable to create a window or use graphic APIs, such as DirectX or OpenGL. Even if you spawn a service process from a Unity-built executable, it is initiated as a background process. Being unable to use the GUI, it gets stuck at the initialization stage, even before the HTTP server MonoBehavior is attached to the GameObject.
This means that the image server won’t function when it runs as a regular service running on Session 0. Since its primary purpose is to ‘render images’, which requires full utilization of the GUI and graphics API, it should operate in an interactive logon session to enable this functionality. Not as a regular background service process.
What if I run it as a service anyway?
The process will be spawned, but it will get stuck in the graphics API initialization stage.
(The image server process was created as a ‘background’ process, stuck in the init stage)
In the image above, the HttpServerTest process is up and running. However, since it couldn’t complete the initialization process, it was unable to bind to port 3000. The output of the command netstat -aon | findstr :3000 reveals that no process is bound to the designated port number. Consequently, the command Invoke-WebRequest, which sends a GET http request, fails to connect to the given URL.
If you create a dump of the stuck process, you can locate where it’s actually stuck. After opening the dump and examining the call stack, I noticed it was stuck at the resolution setting. The exact message the program is trying to display, but couldn’t because it couldn’t use GUI, becomes apparent.
Use PsExec to run it on a user session
A sysinternals program PsExec can be quite helpful in this case. It allows you to execute other programs on another user’s session, even on a remote computer, if you have provided the right credentials.
With the command line option -i, you can specify the session id the ‘program to execute’ will be running on. A proper session ID can easily be obtained from the command, query session.
(You can use PsExec to execute a program on either an ‘Active’ or a ‘Disconnected’ session.)
With the commands mentioned above, you can write a simple program or a PowerShell script that utilizes PsExec to execute your server in a user session. Please be advised that you need to log in to the target machine at least once, to create an interactable user logon session.
But PsExec requires some extra configs
The commands should work. as they did for me in the proof-of-concept script. However, I soon realized that PsExec requires additional configurations on the recipient machines. I was concerned that the security department, responsible for auditing server configurations and deploying live servers, might not approve these changes due to the significant security risks this might impose. In my case especially, this meant that I needed to find another way to circumvent the direct usage of PsExec.
The additional configurations include:
Opening up the TCP 445 port, by adding allowing rules to the firewall.
Turning off the UAC (User Account Control).
Enabling the ‘File and Printer Sharing’ option.
So instead of executing PsExec from the deployment script directly, I chose to bundle the PsExec executable with the image server, let the recipient machine run the PsExec locally on the machine, via the Invoke-Command executed remotely.
$rawOutput = Invoke-Command -ComputerName $remoteIp -Credential $credential -ScriptBlock {
param ($remoteUsername)
return query session $remoteUsername
} -ArgumentList $remoteUsername # parse the output and obtain a proper session id
$sessionId = … # could be 1, or 2, etc. Invoke-Command -ComputerName $remoteIp -Credential $credential -ScriptBlock {
param ($sessionId)
& ‘C:PathToPsExec’ /accepteula -i $sessionId -d ‘C:PathToImageServer.exe’ 2>&1
} -ArgumentList $sessionId
I configured the deployment script in the same way as above. Upon successfully executing it, I could see the image server was up and running, with its GUI functionality initialized properly. It successfully bound the process to port number 3000, being able to accept http requests and respond with the expected payload.
(In this case, unlike above, the process is created as a ‘foreground’ process)
wrote another PoC program in C# that does the same thing as the Powershell script above and made it run as a service via NSSM, worked like a charm.
Conclusion
There are several key considerations when running a Unity-built application as a Windows service:
1. Windows services run as background processes
Windows services are primarily designed to run non-interactive processes in the background. Consequently, any process run under a Windows service is executed as a background process.
2. To make use of Graphics API, it should be a foreground process
If you run Unity output as a background process, it won’t be able to get past the GUI initialization phase. Naturally, all the Unity functionalities will not be able to work, including network initialization.
3. Execute the process via PsExec
PsExec will allow you to specify in which session your program will run. It’s possible to write a server deployment script or a program that creates a logon session and executes the server via PsExec on the session.
With the help of a program like NSSM, it’d be easy to make it into a Windows service.


