Enable Microsoft XPS Document Writer in Windows 11: It is a virtual printer that allows users to create XPS (XML Paper Specification) files from any application that supports printing. XPS is a document format similar to PDF and is designed for sharing and preserving the layout and formatting of documents across different platforms and devices. In this article, we will check it out How to Enable Microsoft XPS Document Writer in Windows 11 using simple steps.
How to Enable Microsoft XPS Document Writer in Windows 11?
The Microsoft XPS Document Writer is a built-in feature in Windows 11, so it does not need to be downloaded separately. However, in some cases, it may need to be enabled or set as the default printer to use it effectively. The following are the steps.
Click on the Start Menu and open the Control Panel.
Switch the Control Panel view to Category.
Category View
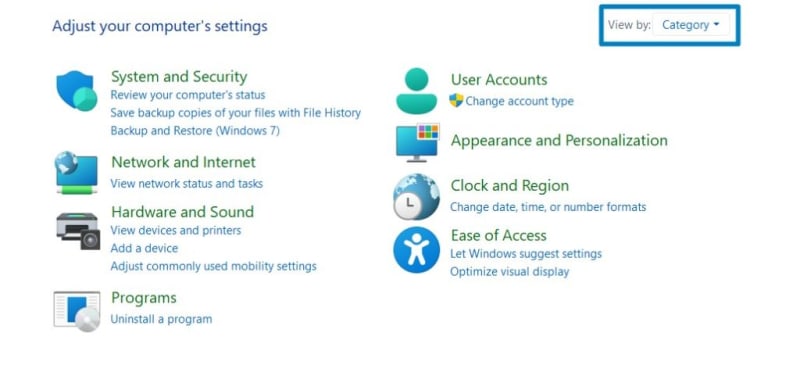
Now, Click on Programs.
Programs
Under Programs and Features, click on Turn Windows Features on or off.
Turn Windows Features on or off[/caption]
Windows Features dialog box will open now.
Search and locate Microsoft XPS Document Writer from the list of services available.
Enable Microsoft XPS Document Writer in Windows 11
Click on the checkbox next to it and then click on OK.
Windows 11 will search for the required files.
Searching for the required files
After the process, Windows will apply the necessary changes.
Applying Changes
The system will prompt for a restart. Click Close. Continue with Restart if prompted. It is recommended that changes made to the system reflect while using the environment.
Close
Microsoft XPS Document Writer is now enabled on your Windows 11 laptop or PC. Enjoy Seamless Connectivity.
How you can ensure that the Microsoft XPS Document Writer is available and ready to use?
Check Printer Devices:
Open Windows Settings using the shortcut Win Key + I.
Click on Bluetooth and Devices.
Now, click on Printers & Scanners.
Look for the “Microsoft XPS Document Writer” among the listed printer devices. If it’s not visible, you may need to add it.
Microsoft XPS Document Writer
After adding the XPS Document Writer, right-click on it in the Devices and Printers window.
Once the Microsoft XPS Document Writer is added and set as the default printer (if required), you can use it to create XPS files from any application that supports printing in Windows 11. Simply select the XPS Document Writer as the printer when printing, and it will generate an XPS file instead of a physical printout.
Take away:
In conclusion, enabling the Microsoft XPS Document Writer in Windows 11 is a simple process that provides users with the ability to create XPS files from any application that supports printing. By following the steps outlined in this guide, users can ensure that the XPS Document Writer is available and ready to use, allowing for the creation of XPS documents that preserve document layout, formatting, and security. Microsoft XPS Document Writer enhances document sharing, archiving, and printing capabilities, contributing to a more efficient and versatile document management experience on Windows 11. Happy Coding! Peace out!