Are you a Go developer transitioning from the Node.js ecosystem? If so, you’re probably familiar with nodemon, a popular tool for automatic live reloading during development. This article guides you through using nodemon to achieve a similar workflow in your Go projects.
Getting Started: Installing Node.js
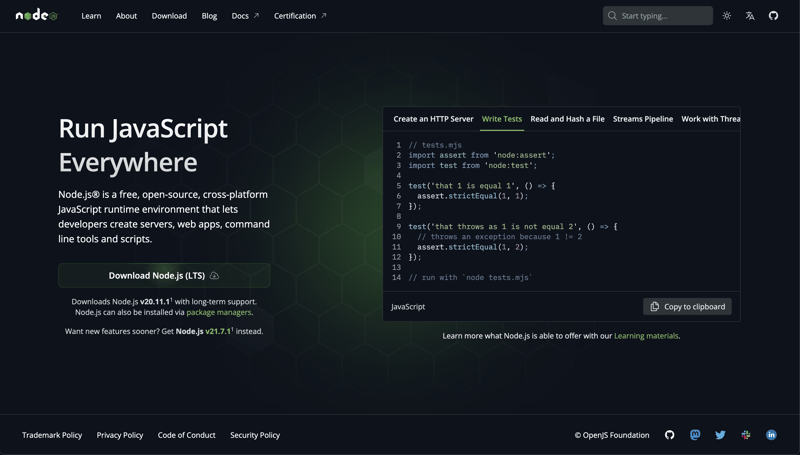
Before diving into the world of automatic reloading for Go, let’s ensure you have Node.js installed. Node.js serves as the backbone for Nodemon’s functionality. Head over to the official Node.js website and follow the simple installation instructions.
Installing Nodemon Globally
Once you’ve got Node.js up and running, the next step is to install Nodemon globally. Open your terminal and execute the following command:
Nodemon, a utility that monitors for changes in your code and automatically restarts the server, will now be accessible across your system.
Implementing Nodemon in Your Go Project
Now comes the exciting part – integrating Nodemon into your Go project. Let’s break down the process step by step:
Choose Your Go File: Identify the main Go file in your project. For the sake of this guide, we’ll refer to it as main.go. However, feel free to adjust the filename according to your project’s structure.
Executing Nodemon: In your terminal, execute the following command to leverage Nodemon:
Note: Remember, the main.go file mentioned here is just an example. Feel free to substitute it with the appropriate filename based on your project setup.
In conclusion, incorporating Nodemon into your Go projects revolutionizes the way you approach development. With its automatic reloading capabilities, you’ll enjoy a smoother, more efficient coding experience from start to finish


