
![[Postman] The dev console](https://media.dev.to/cdn-cgi/image/width=800%2Cheight=%2Cfit=scale-down%2Cgravity=auto%2Cformat=auto/https%3A%2F%2Fdev-to-uploads.s3.amazonaws.com%2Fuploads%2Farticles%2Fy7keym61ik82plgcfkl9.png)
For developers and testers.
———
Some great tutorials to get all Postman tips :
Number 1 : we begin the tutorials with the dev console.
The console is very useful when you are coding your front or for testing purpose.
Breaking news – we will write some javascript inside !
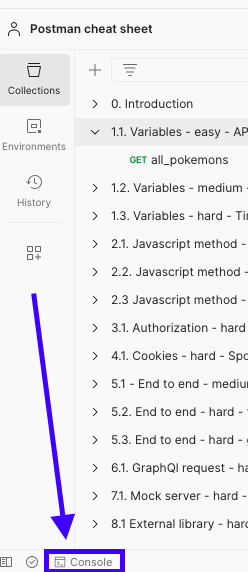
For this tutorial we will need the dev console itself just here :
In the left corner on the bottom.
And the test tab in the request part, just here :
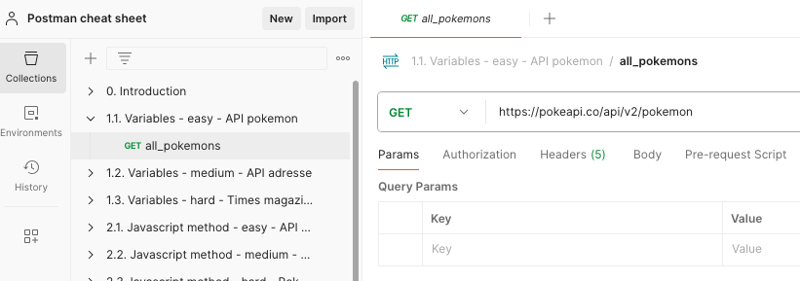
Create a get request to the free pokemon api without any parameters just this call :
Should be like that :
Press the send button for submitting our request !
Alright, so far everything ok !
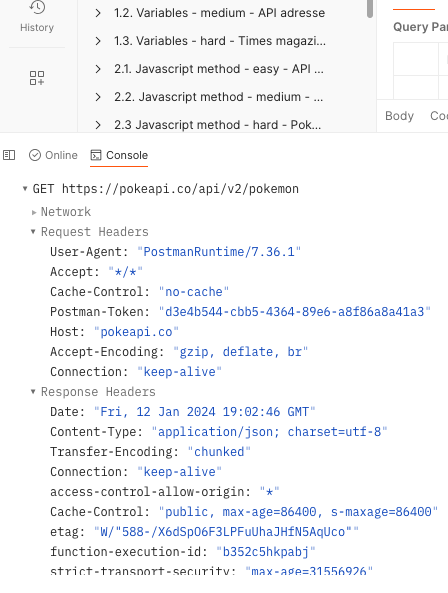
Let’s take a deeper look to our main subject by clicking the console button on the bottom
All the call informations are properly retrieved.
And so what ?
Wait a minute, I mentioned some javascript, let’s go !
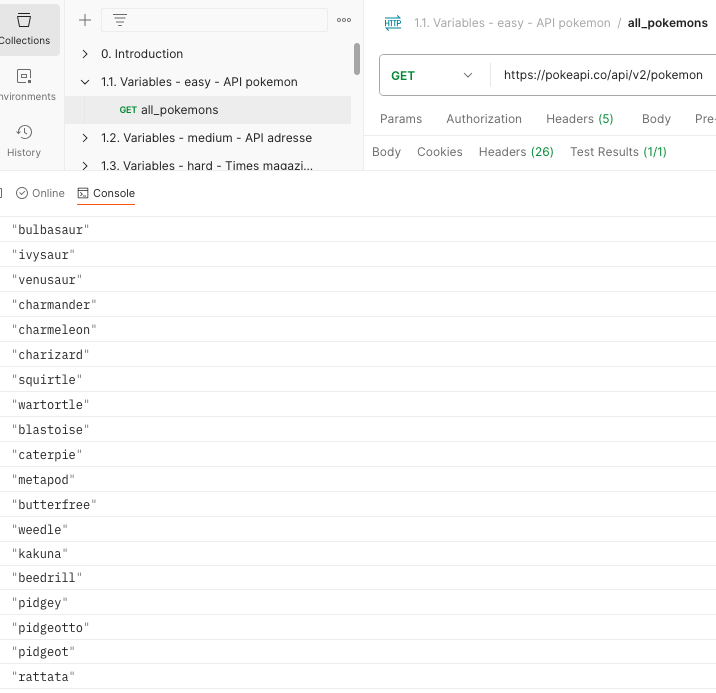
Go to the test tab and write some js :
pokemons.forEach(pokemon => console.log(pokemon.name))
Should seems like that :
Click on the send button to see the result in the console !
Awww wow ! We have it ! A wonderful pokemon list !
We achieve our first goal : Use the postman console for debugging or testing.
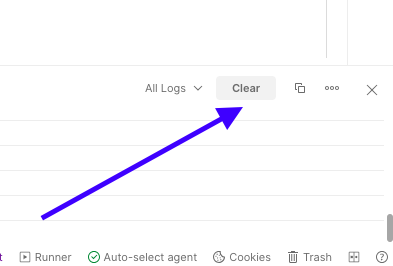
Additional tips : you can clear the console on the right corner on bottom of postman.
Next steps :
Learning to use variables to do something with the pokemon list or any data you get.
Manage your environnement and keep your infos secret
Go further in the javascript methods
Learn to use the mock server
Go deeper with the automation
… and several very useful things !
Hope it helps !
Daphné Hervé (API, monitoring and QA automation lover)


